Curb Rash Repair Made Easy: A Detailed Tutorial
Curb rash is the bane of any car enthusiast’s existence. Those unsightly scratches and dents on your pristine wheels can ruin the entire look of your vehicle. Fortunately, with the right tools and techniques, you can restore your wheels to their former glory. In this guide, we’ll walk you through a step-by-step process to fix curb rash effectively.
Understanding Curb Rash
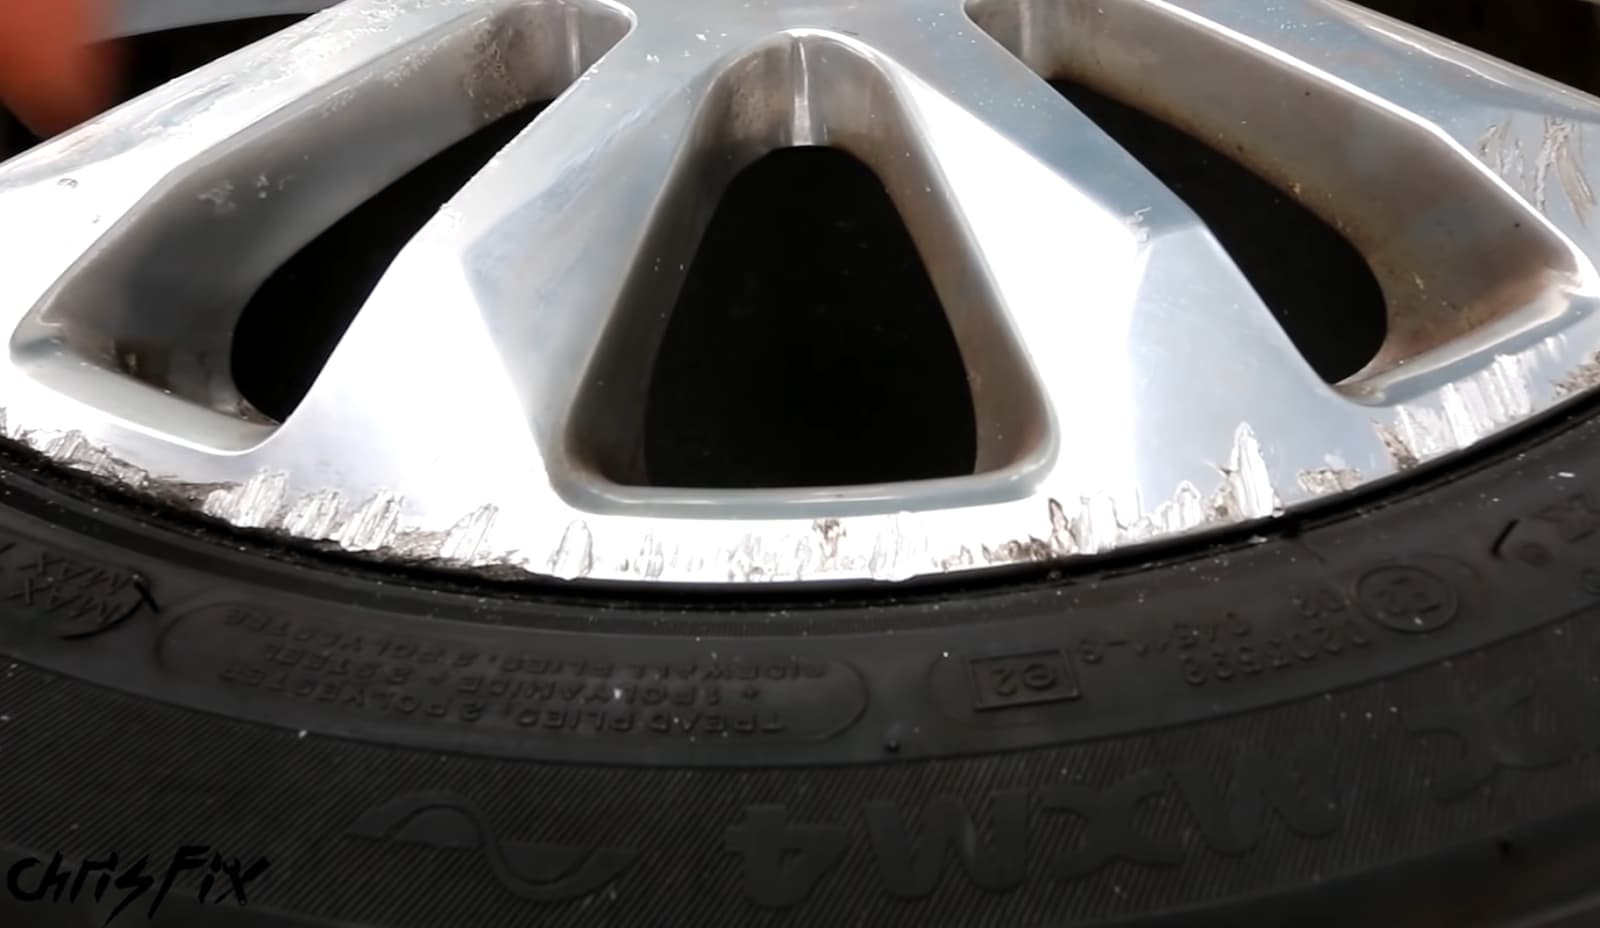
Curb rash, often known as rim rash or wheel scuffing, is a prevalent issue that car owners face. It happens when the external edges of a car’s wheel or rim accidentally graze or hit curbs, resulting in noticeable scrapes, scratches, or deeper gouges on the wheel’s surface.
At first glance, one might dismiss curb rash as a mere cosmetic flaw, especially if it’s minor. However, this seemingly superficial damage can be more than just an eyesore. If the contact with the curb is forceful or if the rash is deep and extensive, it could compromise the wheel’s structural integrity. Over time, if left untreated, these damages could escalate, leading to more severe concerns like wheel misalignment or even cracks that can jeopardize the vehicle’s safety. It’s crucial for vehicle owners to be aware of the implications of curb rash and take timely measures to address and rectify any damage.
Tools and Materials Needed
Repairing curb rash requires a specific set of tools and materials to ensure a smooth and successful restoration. Each item plays a crucial role in the repair process, ensuring that the finished result is both aesthetically pleasing and durable. Here’s a broader look at the necessary items:
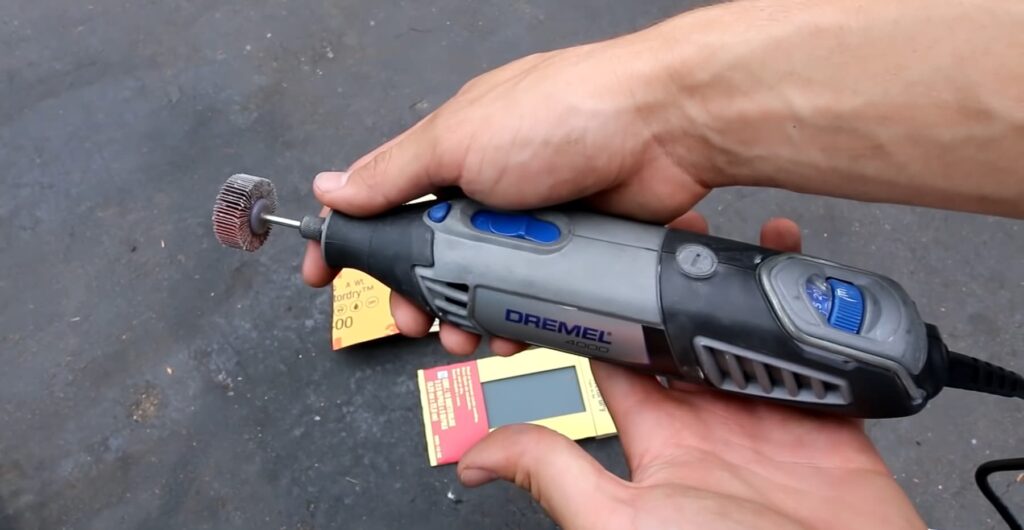
- Sandpaper (ranging from coarse to fine grit): Sandpaper is essential for smoothing out the affected area. Start with a coarse grit to remove the initial roughness and imperfections, then progress to a finer grit for a smooth finish. Having a range of grits allows for a more tailored approach, ensuring the best possible surface for the subsequent stages of repair.
- Wheel Repair Putty or Filler: For deeper scratches or gouges, a wheel repair putty or filler becomes necessary. This compound fills in the gaps and levels the surface, restoring the wheel’s original shape and ensuring a uniform appearance once painted.
- Primer: Before painting, a primer is applied to the sanded and filled area. This helps in ensuring the paint adheres properly and provides a protective layer against elements like moisture, preventing future corrosion.
- Paint Matching Your Wheel’s Color: The goal of any curb rash repair is to make the wheel look as good as new. Using paint that matches the original color of your wheel is crucial. This ensures a seamless blend and maintains the aesthetic integrity of the wheel.
- Clear Sealant or Lacquer: After painting, a clear sealant or lacquer is applied. This not only provides a glossy finish but also acts as a protective layer against further damage, UV rays, and other environmental factors that might affect the paint.
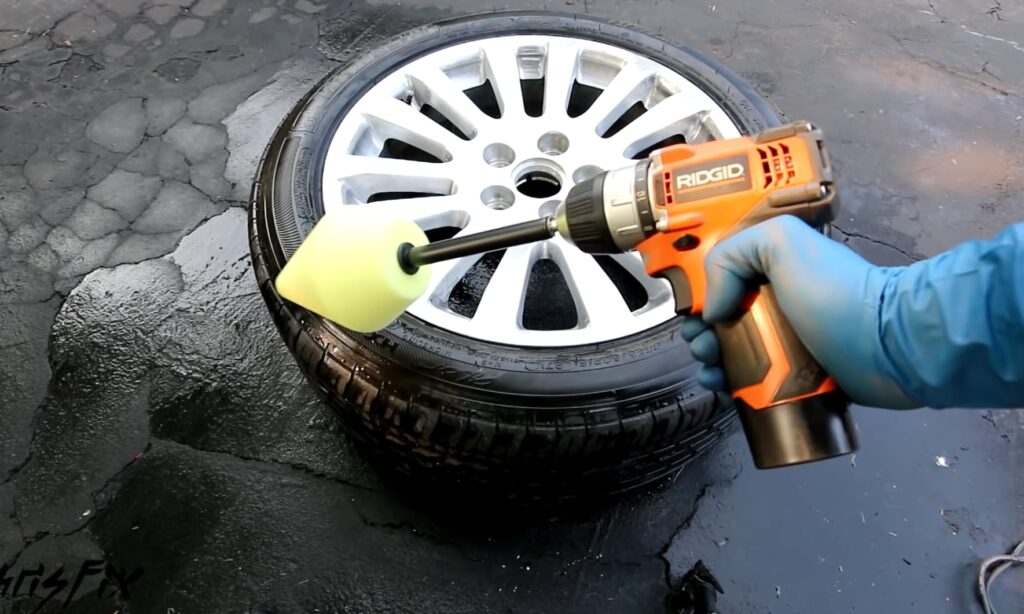
- Cleaning Cloth and Soap: Before starting any repair, the wheel should be thoroughly cleaned to remove dirt, grease, and other residues. A soft cleaning cloth and mild soap are perfect for this task, ensuring a clean surface that’s ready for repair.
Preparing the Affected Area
Before diving into the actual repair process, it’s imperative to properly prepare the area affected by curb rash. Start by giving the damaged section a meticulous clean using a mild soap and a soft cloth. This step is crucial because accumulated dirt, grease, or other residues can interfere with the repair materials adhering correctly. By ensuring the wheel’s surface is pristine, you create an ideal environment for the subsequent steps, guaranteeing a smoother and more effective repair process.
Sanding the Damage
When addressing curb rash, one of the primary steps is to sand down the affected area to smooth out any rough or jagged edges. Begin this meticulous process using the coarsest grade of sandpaper. By applying gentle pressure, methodically sand the damaged spot, focusing on reducing prominent scratches and gouges. As the surface becomes more even, switch to medium, and then fine-grit sandpapers. This progression ensures that with each pass, the wheel’s surface becomes increasingly smoother, laying the groundwork for the subsequent repair stages.
Filling and Smoothing
Not all curb rashes are superficial; some can leave deep gouges that need filling to restore the wheel’s original contour. In such cases, wheel repair putty or filler becomes your go-to solution. Ensure you apply this compound according to the manufacturer’s guidelines for best results. After allowing the filler to set and harden, it’s back to sanding. This step is vital to blend the filled area seamlessly with the surrounding wheel surface. Using fine-grit sandpaper, gently sand over the filled region until its elevation matches that of the rest of the wheel, ensuring a uniform profile.
Priming and Painting
With the wheel’s surface now smooth and even, it’s time to bring back its original color and luster. Start by applying a thin layer of automotive primer over the sanded and filled areas. This primer acts as an intermediary layer, ensuring better paint adhesion and providing added protection against potential corrosion. After letting the primer dry adequately, the next step is painting. Selecting the right shade is paramount here; it should closely match your wheel’s original color. Applying the paint in thin, even layers will result in a professional-looking finish. Once done, the repaired area should blend seamlessly with the rest of the wheel, making the curb rash a thing of the past.
Sealing the Repair
After allowing the paint to thoroughly dry, the next crucial step involves the application of a clear sealant or lacquer. This not only serves as a protective shield for the repaired section but also imparts a lustrous, glossy finish. The clear sealant seamlessly merges the repaired area with the remaining wheel surface, ensuring a uniform and polished appearance. This final touch not only enhances the aesthetics but also fortifies the wheel against future wear and tear.
Prevention Tips
When it comes to safeguarding your wheels from curb rash, proactive measures can make a significant difference in the long run. Here are some valuable prevention tips to keep in mind:
| Parking Tips | Description |
|---|---|
| Exercise Caution When Parking | Always exercise caution and precision when parking near curbs. A momentary lapse in judgment can lead to unsightly curb rash damage. Take your time and park with care to minimize the risk. |
| Install Wheel Protectors or Rim Guards | Consider installing wheel protectors or rim guards. These specially designed accessories act as a buffer between your wheels and curbs. They offer an added layer of defense against accidental contact. |
| Regularly Monitor Tire Pressure | Keep a vigilant eye on your tire pressure. Maintaining the recommended tire pressure ensures optimal performance and reduces the risk of tire scraping. Check your tire pressure regularly to avoid unnecessary damage. |
Conclusion
Curb rash is an unfortunate but common issue many vehicle owners face. With patience and the right approach, you can restore your wheels to look as good as new. Regular precautions can help prevent future incidents, ensuring your wheels remain in pristine condition.
Remember, for severe damage or if you’re unsure about the repair process, it’s always best to consult with a professional.