Efficient Clear Coat Remover: Unveiling Ultimate Solution
Clear coats serve as the ultimate veneer in the realm of automotive and various object refinishing, bestowing upon them a lustrous and gleaming facade. This protective mantle stands as a stalwart guardian, shielding the substratum of paint from the pernicious effects of ultraviolet rays, inconsequential abrasions, and the encroachment of environmental impurities. Yet, with the passage of time, this once-immaculate clear coat can succumb to the wearisome effects of dullness, oxidation, or even the unsightly blemishes of peeling, thereby compelling the imperative task of its removal.
Reasons for Clear Coat Removal and Preparation for a Fresh Paint Job
Why Would You Want to Remove a Clear Coat?
Removing a clear coat may seem like an unconventional task, but there are several compelling reasons that might lead you down this path. Whether you’re dealing with the adverse effects of aging and oxidation or preparing for an exciting new paint job, understanding these motivations is crucial. Let’s dive deeper into the world of clear coat removal.
Aging and Oxidation: The Cloudy Dilemma
One common reason for wanting to remove a clear coat is the natural aging process and oxidation. Over time, even the most meticulously applied clear coats can succumb to the elements and start looking cloudy or hazy. This phenomenon can significantly diminish the visual appeal of your vehicle or other surfaces.
Recommendation: Regularly waxing and maintaining your clear coat can extend its lifespan and delay the onset of oxidation. However, when the damage is already done, removal becomes necessary.
Peeling or Flaking: The Imperfection Factor
Sometimes, the clear coat may peel or flake due to improper application, exposure to harsh environmental conditions, or unfortunate accidents. These imperfections can be an eyesore and may require you to take action.
Tip: Ensure that you apply the clear coat in the recommended environmental conditions, use quality products, and follow proper techniques to minimize the risk of peeling or flaking.
Preparing for a New Paint Job: A Fresh Canvas
Perhaps the most exciting reason to remove a clear coat is to prepare for a new paint job. Whether you’re aiming for a color change, want to fix imperfections in the existing paint, or simply want to refresh the appearance, a pristine surface is essential for optimal results.
Insight: Properly removing the existing clear coat ensures that the new paint adheres correctly, providing a smooth and long-lasting finish for your project.
Safeguarding Yourself and the Environment: Safety Precautions During Clear Coat Removal
Safety Precautions to Follow
Clear coat removal isn’t just about achieving your desired results; it’s also about safeguarding your health and the environment. Here are some essential safety precautions you should prioritize:
Protective Gear: Shielding Yourself from Harm
Wearing the appropriate protective gear is non-negotiable when embarking on a clear coat removal project. Your well-being is paramount, and protective gear acts as your first line of defense.
Recommendation: Invest in high-quality safety gear, including safety glasses to shield your eyes, gloves to protect your hands, and a mask to filter out harmful dust and chemical fumes.
Well-Ventilated Area: Breathing Easy
Ventilation plays a crucial role in your safety while removing a clear coat, especially when using chemicals. Adequate airflow helps dissipate harmful fumes and minimizes the risk of inhaling noxious substances.
Tip: Work in an open and well-ventilated space, or consider using an exhaust fan to improve air circulation in your workspace.
Dispose of Materials Properly: Environmental Responsibility
The chemicals involved in clear coat removal can be hazardous to both human health and the environment. Responsible disposal is not only ethically sound but often legally required.
Insight: Familiarize yourself with local disposal regulations, and ensure that you dispose of used materials, such as solvents and paint debris, according to these guidelines. Proper disposal helps protect our ecosystem and minimizes potential harm.
Comprehensive List of Essential Tools and Materials
For an effective clear coat removal process, ensuring you have the right tools and materials is crucial. The following comprehensive list provides a thorough breakdown:
- Sandpaper Selection: Choose a range of sandpapers, starting from a more abrasive 600-grit, progressing to an intermediate 800-grit, and finally, a finer 1000-grit. This sequential arrangement aids in gradually breaking down the clear coat layer without damaging the underlying paint;
- Clear Coat Dissolving Agents: A clear coat remover or paint thinner becomes essential, especially for stubborn clear coat layers or when aiming for a quicker removal process;
- Cleaning Aids: A soft cloth or sponge is essential to gently clean and wipe surfaces. This ensures any external contaminants are eliminated before the removal process, ensuring optimum results;
- Washing Solution: Prepare a bucket filled with soapy water. This aids in both cleaning the surface initially and rinsing it after sanding or using the remover.
Safety Gear:
- Safety Glasses: Protects eyes from any splashes or flying particles;
- Gloves: Safeguards hands from chemicals and abrasive materials;
- Protective Mask: Essential to prevent the inhalation of harmful fumes or dust;
- Buffing Equipment: Although optional, a buffing machine gives the final touch by providing a polished and smooth finish to the surface.
Comprehensive Procedure for Clear Coat Removal
Delving into the removal process, this step-by-step procedure ensures both safety and effectiveness:
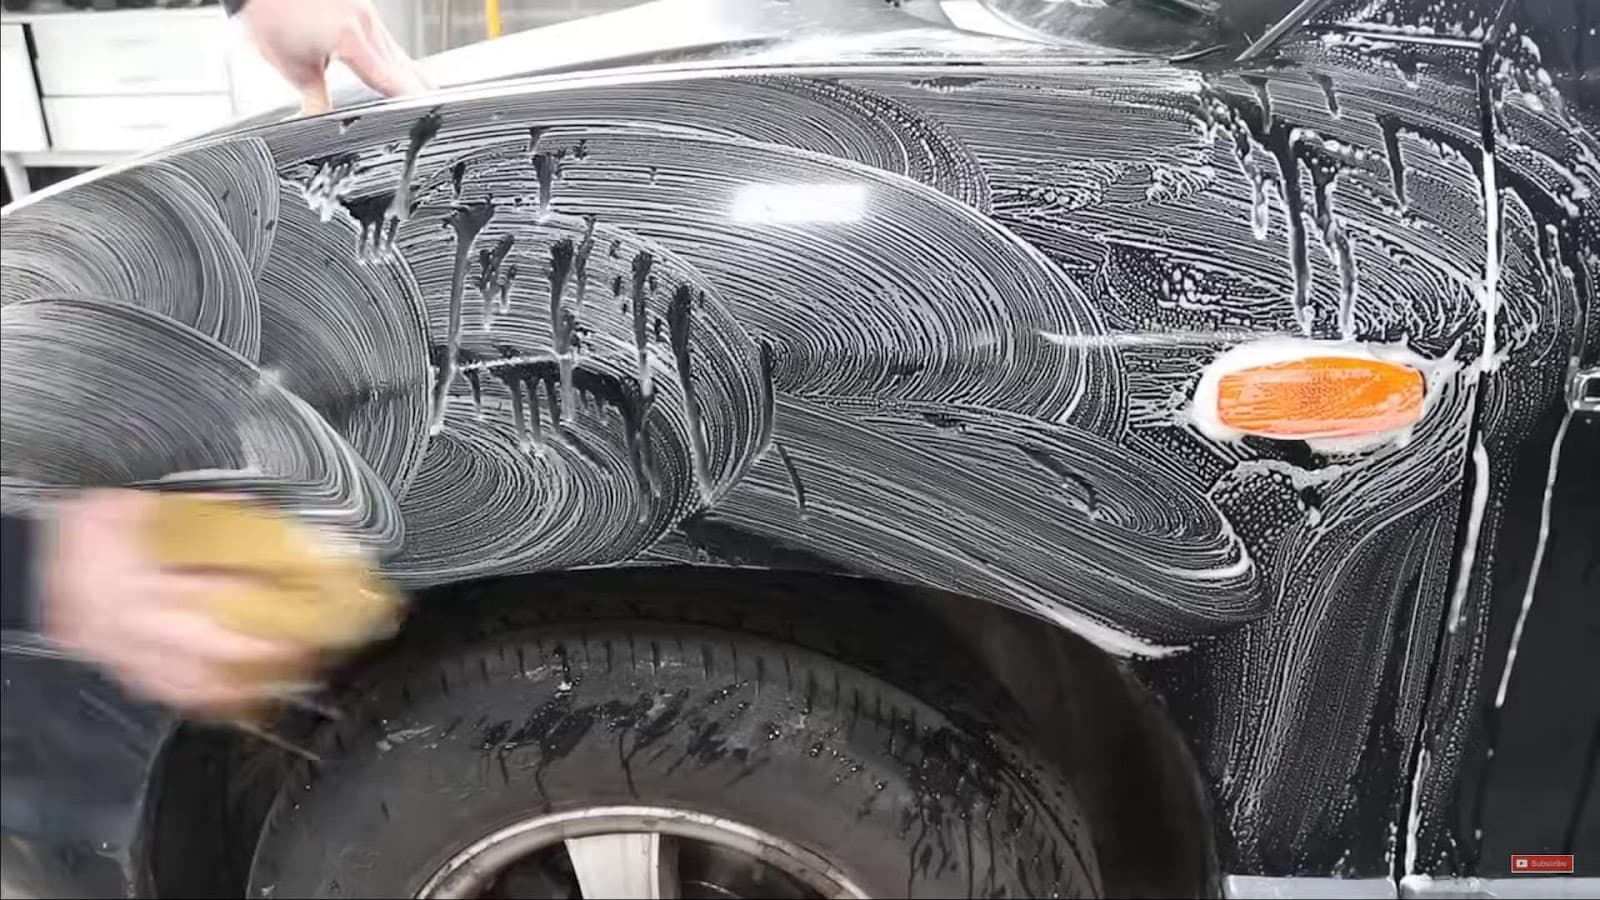
- Initial Surface Cleaning: Prioritize the cleanliness of the surface. Using the bucket of soapy water and a soft cloth or sponge, gently cleanse the area to rid it of any dirt, grime, or external contaminants. This ensures a more uniform removal process;
- Prioritize Safety: Before delving into the actual removal process, safeguard oneself by wearing safety glasses, gloves, and a protective mask. This minimizes the risks associated with chemical exposure and physical abrasions.
Gradual Sanding Process:
- Commence with the 600-grit sandpaper. Dampen the sandpaper with water, ensuring it’s wet but not overly soaked;
- Adopt circular motions while sanding to ensure an even abrasion of the clear coat layer;
- Regularly rinse the surface to remove sanded residues and monitor the progress;
- Upon observing a thinning of the clear coat, transition to the 800-grit sandpaper, and eventually, finish with the 1000-grit for a refined abrasion;
- Engaging with Clear Coat Removers: For areas where sanding might seem less effective or for thicker clear coat layers, resort to the clear coat remover or paint thinner. Always adhere to the manufacturer’s guidelines, especially regarding the duration of application;
- Final Rinsing and Cleaning: Once satisfied with the clear coat removal, it’s pivotal to eliminate any lingering residues. Rinse the surface thoroughly and follow up with a wash using soapy water. Ensure the surface is dried meticulously after cleaning;
- Optional Buffing for Perfection: For individuals aiming for a pristine finish, employ a buffing machine. This not only accentuates the shine but also ensures any minor abrasions are smoothened out, giving the surface a professional touch.
Expert Techniques for Optimal Sanding Outcomes
1. Preliminary Surface Examination:
Before diving into a full-blown sanding task, it’s crucial to test a discreet, hidden portion of the material. This step ensures compatibility with the surface and can help prevent potential mishaps. By doing this, one can assess how the surface responds to sanding, ensuring that the final result is as anticipated.
2. Water’s Role in Sanding:
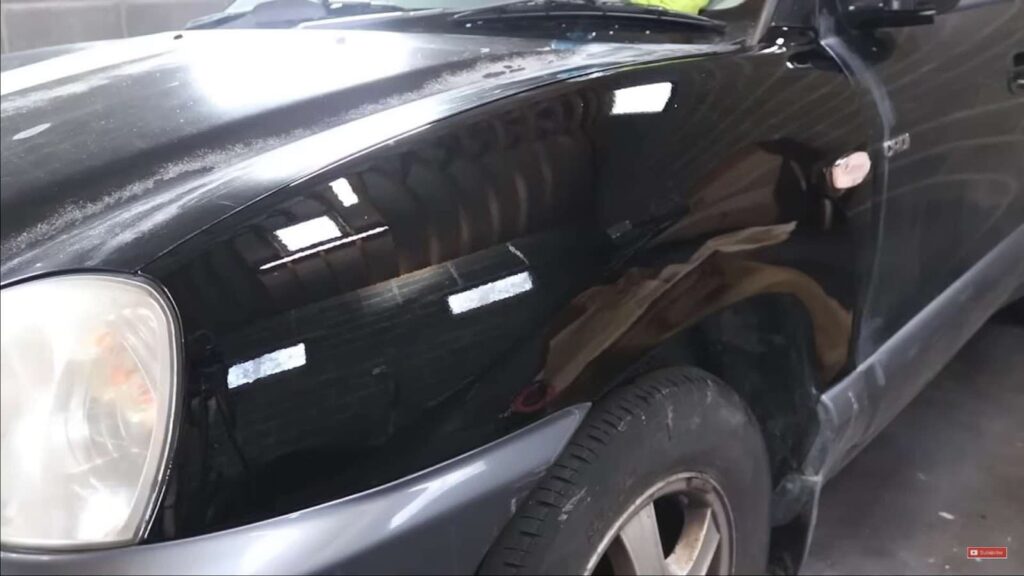
Maintaining moisture on the sandpaper can substantially diminish the chances of unintentional scratching. This wet-sanding technique not only keeps scratches at bay but also facilitates smoother sanding. The water acts as a lubricant, minimizing the abrasive impact of the sandpaper and producing a finer finish.
3. Gentle Pressure is the Key:
Contrary to the belief that rigorous pressure yields faster results, sanding requires a light and consistent touch. Excessive pressure can compromise the underlying paint or material, leading to undesired damages. A gentle hand guarantees preservation of the original surface while effectively smoothening the top layer.
4. Hygiene in the Sanding Process:
When utilizing the wet-sanding technique, the water tends to gather residues from the surface being sanded. As the process continues, this water can become contaminated. It’s pivotal to regularly replace the water to avoid reintroducing these contaminants back onto the surface. Fresh water ensures that one is working with a clean slate, maximizing the efficiency of the sanding process and ensuring a flawless finish.
Incorporating these expert techniques can make the difference between a mediocre and a top-notch finish. By adhering to these guidelines, one can ensure optimal results that stand the test of time.
Conclusion
Eliminating a clear coat demands meticulousness and a keen focus on particulars. By meticulously adhering to the aforementioned procedures, prioritizing safety precautions, and selecting the appropriate implements, you can proficiently strip away the clear coat, readying your object for a rejuvenating coat of paint or refinishing. It is imperative to bear in mind the importance of patience and the necessity to comprehensively evaluate the situation before embarking on the task.